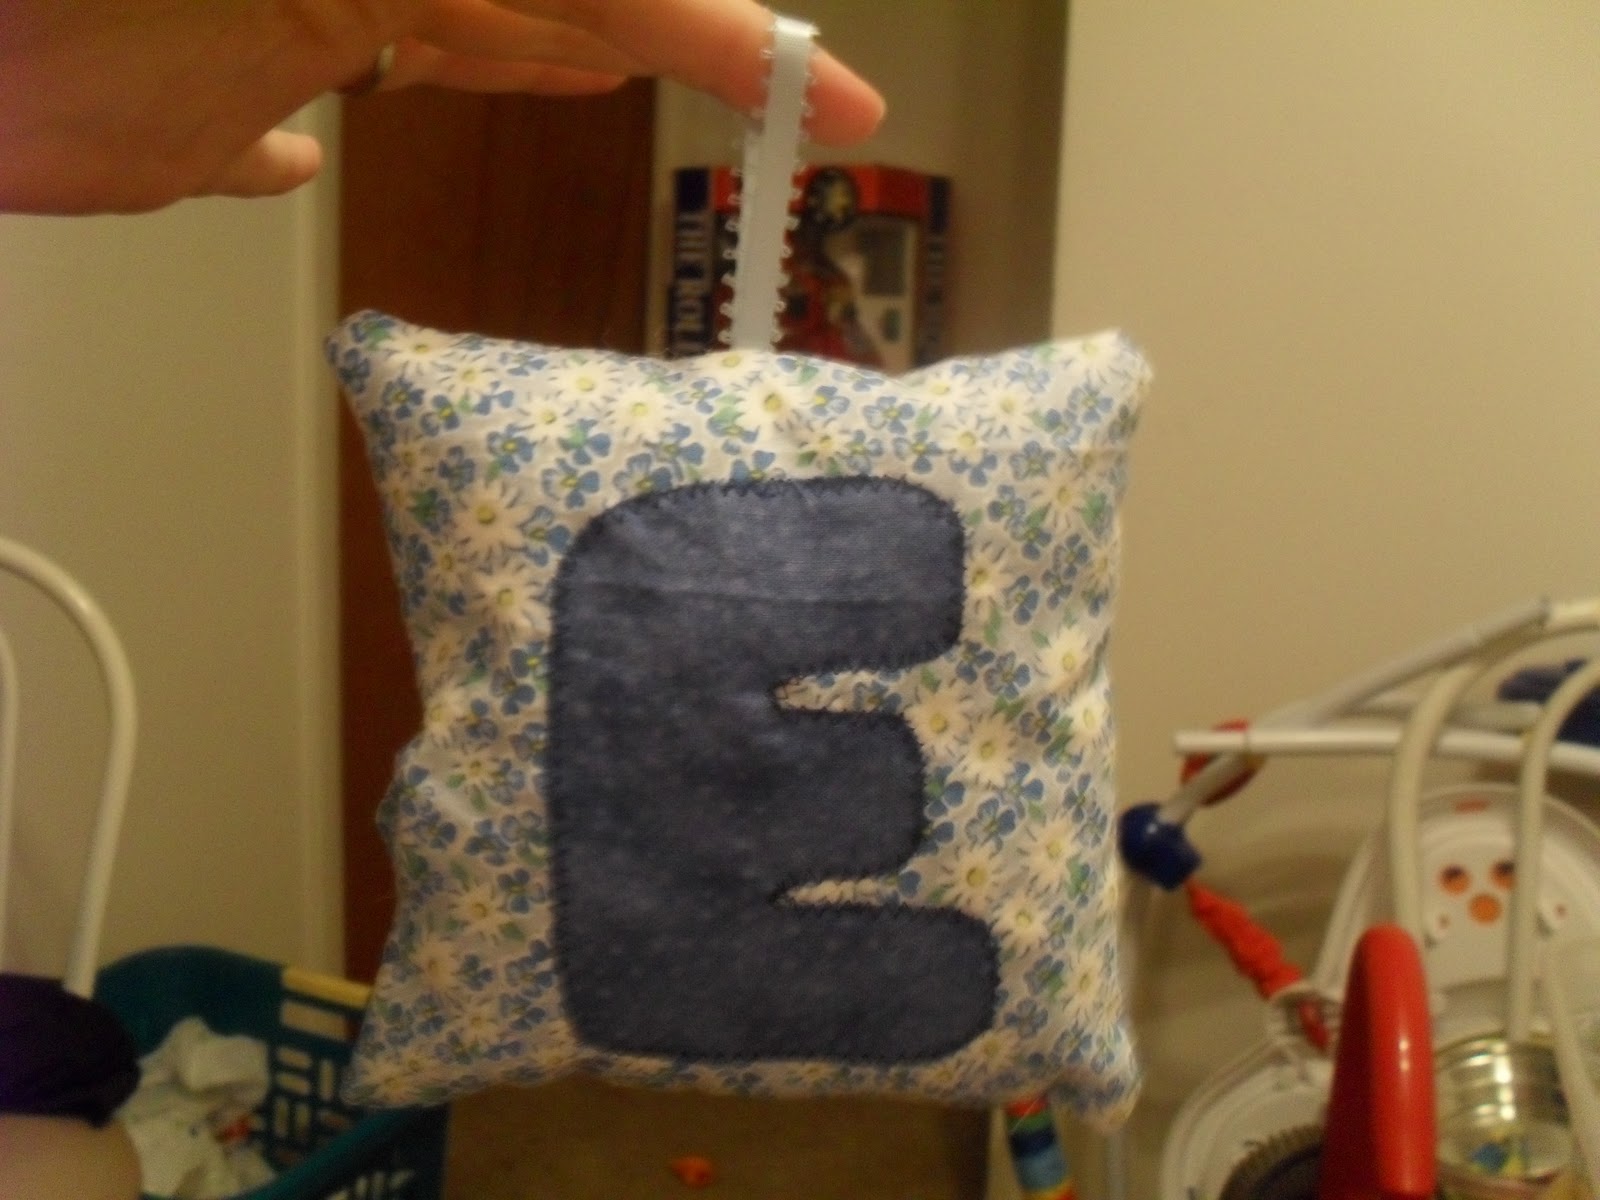
These came to fruition when I wanted something other than blocks for the ABC's. I hate stepping on blocks and hurting myself. I wanted something that my youngest could play with that wouldn't hurt if I so happened to step on it, nor would it break. I also wanted something that I could use later on to teach the alphabet and spelling. So this is what I came up with.
Mini ABC Pillows
Materials:
2 prints each piece 6"x16"
Letter templates
Ribbon (optional)
Coordinating thread
Polifill
Needle
Pick two prints that coordinate yet will not get lost when on top of each other.
For each print you will need to cut out two pieces that are 6"x6" and one letter.
Once you have all your fabric and letters cut out its time to put everything together.
First we will pin and zig zag the letters onto one piece of the 6"x6" fabric.
Now you are going to put the two pieces of 6"x6" fabric right sides together and pin.
If you want a ribbon loop this is the time to pin it in. I did as these pillows are being made so that they can hang onto a peg board later on down the road.
Sew the square together leaving an opening to turn right side out. Clip the corners before turning.
Turn right side out and fill with PoliFill
The next step is to hand sew your opening closed and you have your pillow done!